


Caveat: All screen-shots presented here are taken in horizontal/landscape direction. The screen layouts on vertical/portrait orientated screens is similar, but left and right elements can typically be found at the bottom or top respectively. Also, layouts of screen elements will be a bit different between the two orientations. But in general the screens should be similar enough to find your way.
The SCORA Music Viewer app has three main operational modes:
- Rehearsal view
- Concert view
- Extended annotation editing
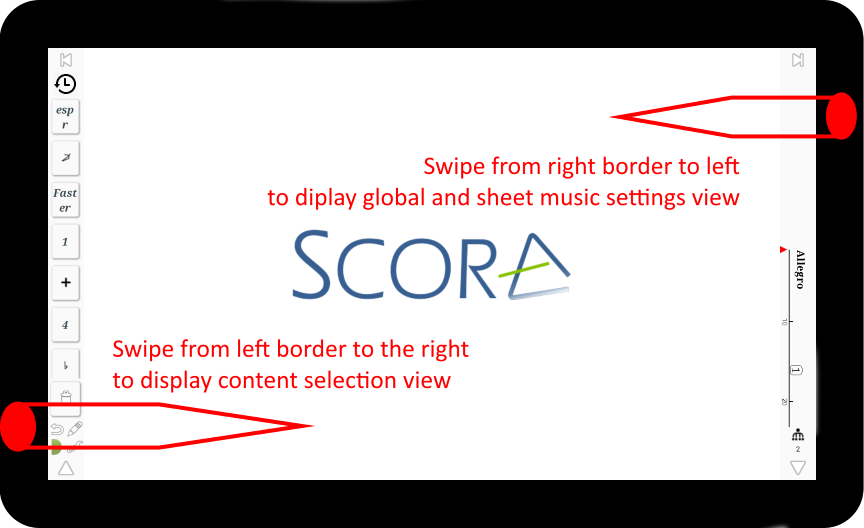
Both the rehearsal view and the concert view consist of the main screen and two “slider” windows that can be swiped in from the left or the right.
Swiping in views is done by starting with your finger from the black border around the screen and swiping horizontally into the screen.
The concert view shows your notes, and nothing else. No distractions or buttons, only music.
The rehearsal view – which is the default view in which the tablet starts up – shows a number of control elements.
These allow to control the progress of the music with touch commands. On the left one has a set of annotation buttons (recent or favorites) for quick annotation making without leaving the main view. On the right there is a navigation scroller that shows where one is in a (long) piece. It also allows to quickly navigate long pieces of music over long distances or to specific rehearsal marks or tempo changes. These lements will be explained one by one in separate tutorial

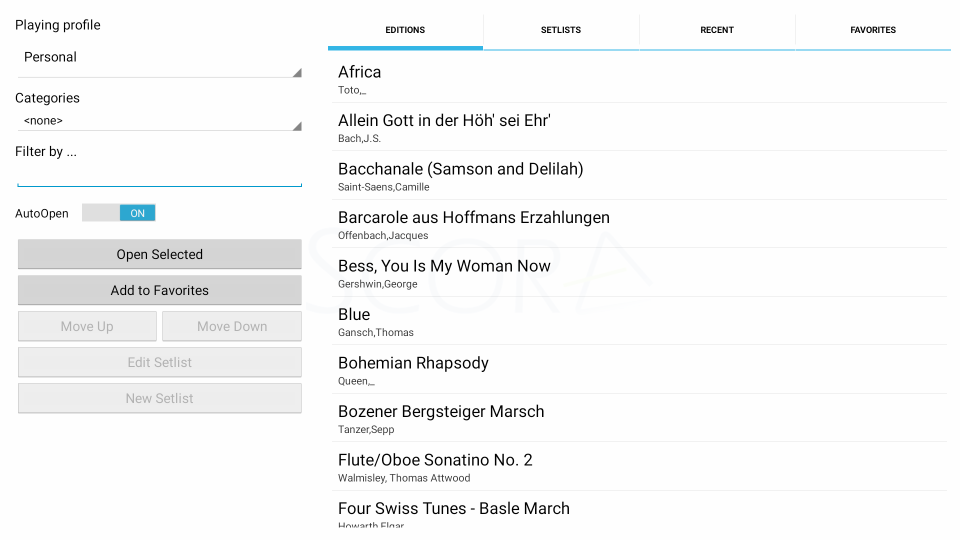
In both concert or rehearsal mode, one can swipe in the content selection window. This is done by swiping from left to right. This window will be explained in a separate tutorial post.
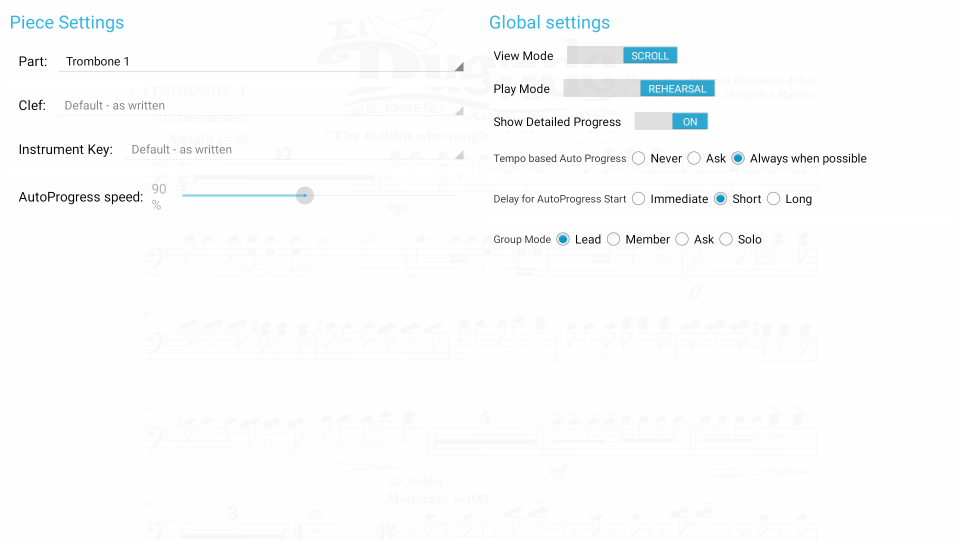
In both concert or rehearsal mode, one can swipe in the quick settings window. This is done by swiping from right to left. This window will also be explained in a separate tutorial post.
The extended annotations window is reached by double tapping the sheet music at the place where one wants to place an annotation. This will open a window that is zoomed in on the music around the place where one wants to annotate. The window also contains a very large number of annotation buttons immediately accessible without having to navigate through layers of menus. The extened annotation window will be the subject of several tutorial posts.
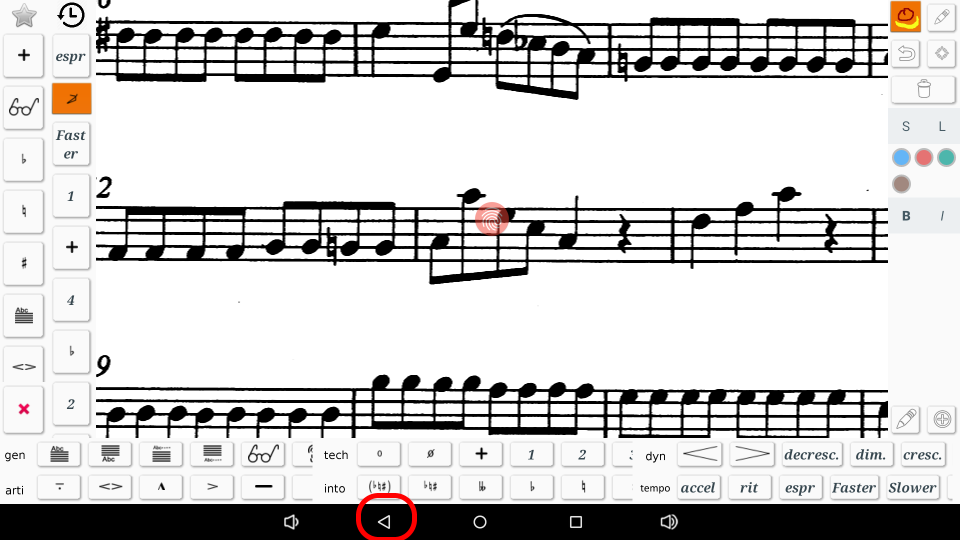
Navigating back from the extended annotations window to the main window is done by tapping the standard Android “back” button at the bottom of the screen (highlighted in the screenshot above)